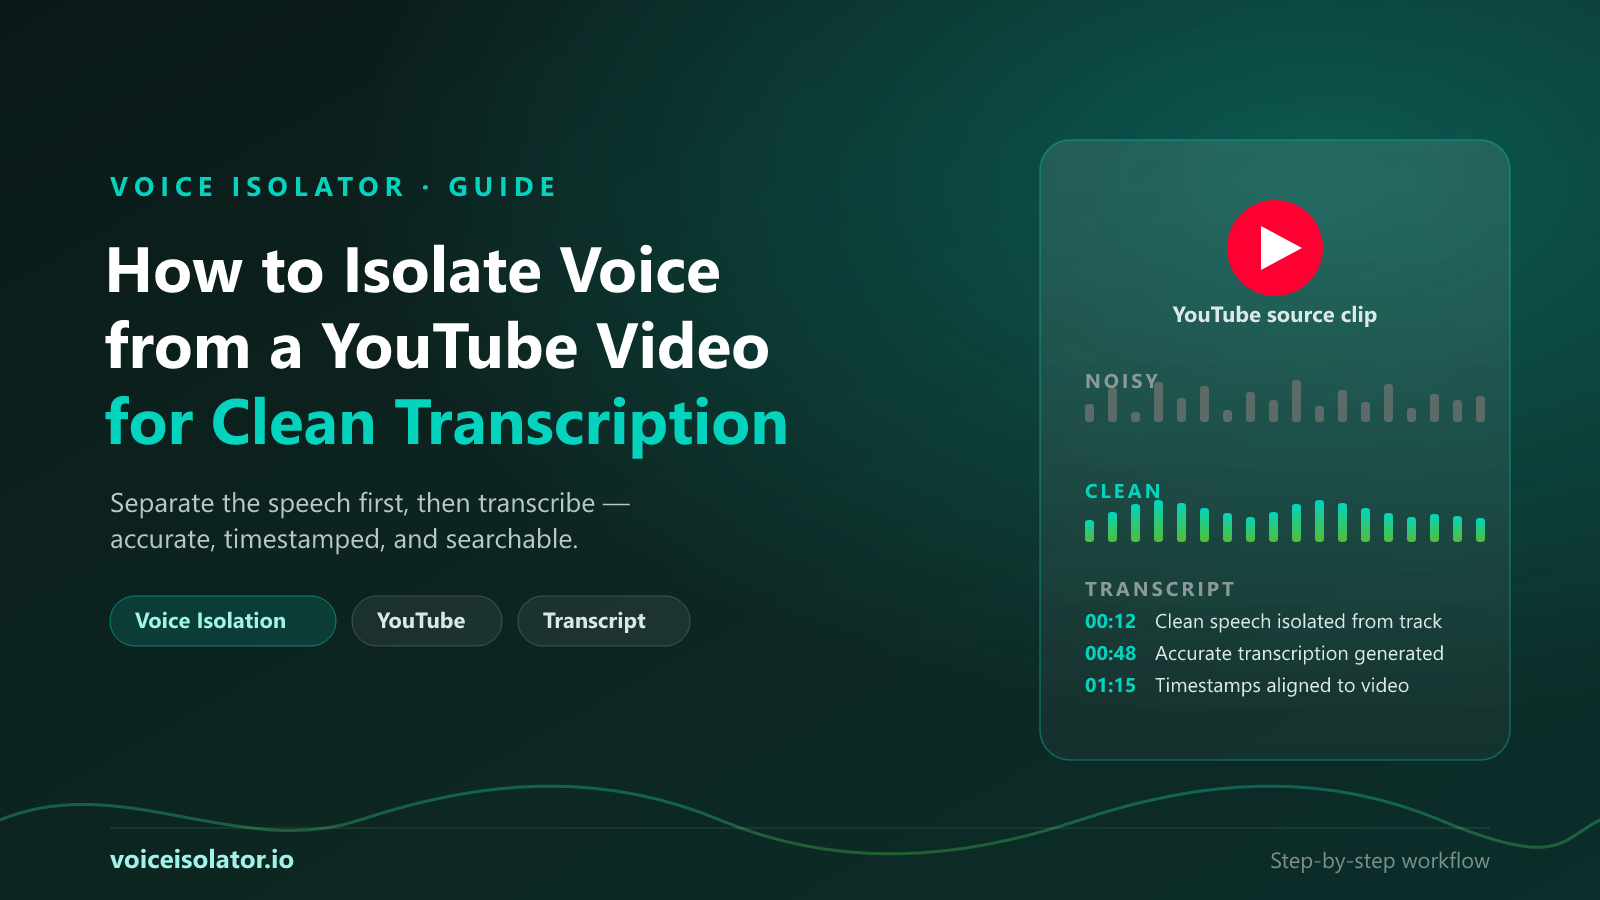
How to Isolate Voice from a YouTube Video for Clean Transcription
Background noise kills transcription accuracy. A fan humming, music under the dialogue, or a crowded room all confuse speech recognition and leave you with a messy transcript full of guesswork. The fix is not a better model alone — it is cleaner audio. This guide shows how to isolate the voice from a YouTube video first, then turn that clean speech into a transcript you can actually use.
Table Of Contents
- Why Isolate the Voice Before Transcribing
- Method 1: Use a Voice-Isolation Tool
- Method 2: Transcribe First, Then Clean
- Turning the Isolated Voice Into Text
- What a Good Transcript Gives You
- A Workflow That Holds Up
- Translation Follows Naturally
- Common Mistakes
- Bottom Line
Why Isolate the Voice Before Transcribing
Speech recognition works best when the signal-to-noise ratio is high. When you feed a model a clip where the voice is buried under music or crowd noise, it fills gaps with the wrong words. Isolating the voice upfront means:
- Fewer errors in the final transcript.
- Cleaner speaker separation when more than one person talks.
- Better translation downstream, because the source text is accurate.
Think of isolation as pre-processing. A few minutes here saves an hour of editing the transcript later.
Method 1: Use a Voice-Isolation Tool
The simplest path is a dedicated isolator. Paste the YouTube link — or upload the audio — and the service separates the speech stem from everything else. You download the cleaned voice track and use it from there.
Best practices:
- Copy the video URL from the address bar; a standard watch link is most reliable.
- Choose "voice only" so you get just the speech, not the full mix.
- Export as WAV when you will transcribe next, since lossless audio gives the model more to work with.
For most interviews, lectures, and calls, this is all you need.
Method 2: Transcribe First, Then Clean
An often-overlooked shortcut: you do not always have to isolate before transcribing. A strong YouTube transcript generator can read the audio track directly and still return a readable transcript even when the original has noise. It is not perfect, but for casual content it is faster than the separate isolation step.
Use this when speed matters more than perfection, or when the video is already fairly clean.
Turning the Isolated Voice Into Text
Once you have the clean speech track, the goal is a transcript. You have two routes:
- Upload the isolated audio to a transcription service.
- Paste the original YouTube link into a tool that handles both capture and transcription in one step.
The second route is usually simpler: no file juggling, no format conversion, just a link in and a transcript out. For a service like youtube-to-transcript.ai, the isolated voice improves accuracy, but the tool also copes when you skip isolation entirely.
What a Good Transcript Gives You
A transcript is only useful if it leaves the page. Look for these outputs:
- TXT for plain notes and search.
- SRT / VTT when you want captions synced to the video.
- DOCX for editing before you publish.
- Speaker labels when the clip has more than one voice.
Timestamps matter most. They let you jump from a line of text to the exact second it was spoken — essential for quoting, fact-checking, or building chapters.
A Workflow That Holds Up
Here is the chain we use:
- Isolate the voice from the YouTube video using a separation tool.
- Transcribe the clean track (or paste the link and let one tool do both).
- Review the transcript against the video using timestamps.
- Export the format your editor, CMS, or subtitle tool expects.
If the video is already clean, skip step 1. If it is noisy, step 1 is what makes step 2 trustworthy.
Translation Follows Naturally
Once the transcript exists, translating it is a small extra step. A YouTube video translator keeps each translated line aligned to the original timeline, so the new-language text still maps to the right second. That means you can ship multilingual captions or a translated article from a single source clip.
Common Mistakes
- Skipping isolation on noisy audio. You pay for it in edit time.
- Dropping timestamps. Without them, the transcript is hard to verify or caption.
- Over-cleaning. Aggressive isolation can thin out the voice; listen to a sample before processing a long file.
Bottom Line
Isolating voice from a YouTube video is the highest-leverage step you can take before transcription. Clean speech in, accurate text out — then translate, caption, or repurpose from there. Start from the audio, keep your timestamps, and one noisy clip becomes a clean, searchable, multilingual asset.